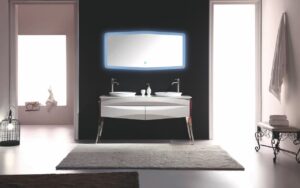
Custom Bathroom Vanities: Designing Your Dream Vanity
Are you tired of the same old cookie-cutter bathroom vanities that lack style and personality? It’s time to break free from the mundane and embrace
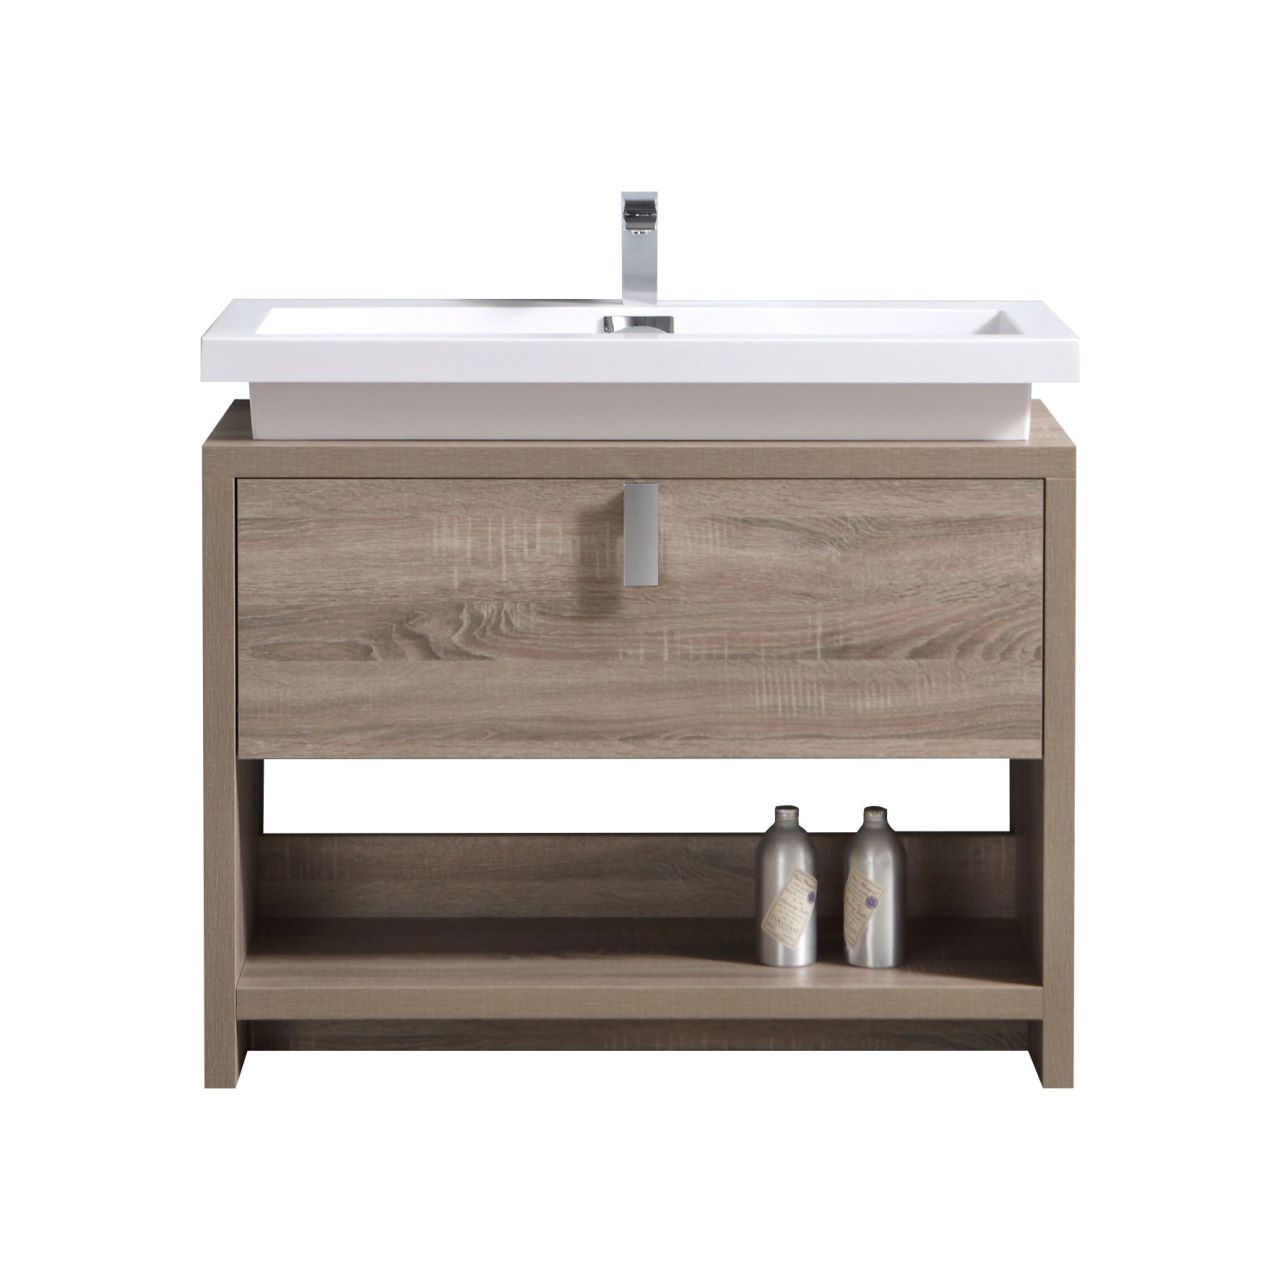
DIY Bathroom Vanity Makeovers: Step-by-Step Guides
Are you tired of your outdated bathroom vanity? Ready to give it a fresh, new look that will bring a touch of modern elegance to your space? Look no further!
In this article, we will guide you through the step-by-step process of transforming your bathroom vanity into a stunning centerpiece that you’ll be proud to show off to your guests.
With our DIY Bathroom Vanity Makeovers: Step-by-Step Guides, you’ll learn how to:
We’ll walk you through the process of:
And to add those perfect finishing touches, we’ll provide you with innovative ideas that will elevate your vanity to the next level.
Get ready to embark on a journey of creativity and innovation as you transform your bathroom vanity into a work of art. Let’s dive in and start your DIY makeover today!
Before you begin your DIY bathroom vanity makeover, take a moment to assess your current vanity and identify any areas that need improvement.
Start by assessing the condition of your vanity. Look for any signs of wear and tear such as cracked or chipped surfaces, loose or missing hardware, or water damage. Take note of any areas that need repair or replacement.
Next, determine the necessary repairs. If you have any cracked or chipped surfaces, consider using a filler or epoxy to repair them. For loose or missing hardware, make a list of the items you need to replace, such as handles or hinges. If you have any water damage, it’s important to address the source of the problem before proceeding with the makeover.
Once you have assessed the condition of your vanity and determined the necessary repairs, you can move on to choosing a design style. This is an important step as it will set the tone for the rest of your makeover. Whether you prefer a modern, rustic, or traditional look, make sure to choose a design style that reflects your personal taste and complements the overall aesthetic of your bathroom.
When selecting a design style, you’ll want to consider the overall aesthetic you desire for your bathroom vanity transformation. Are you drawn to a modern or vintage look?
Modern designs often feature clean lines, sleek finishes, and minimalist touches, creating a contemporary and sophisticated feel.
On the other hand, vintage designs embrace a sense of nostalgia, with ornate details, antique fixtures, and a charming, timeless appeal.
Next, consider whether you prefer a minimalist or eclectic style.
Minimalist designs focus on simplicity and functionality, with clean and uncluttered spaces. These designs often incorporate neutral colors, sleek surfaces, and streamlined storage solutions.
On the other hand, eclectic designs embrace creativity and individuality, combining different styles, textures, and colors to create a unique and visually stimulating space.
Once you’ve decided on the design style that resonates with you, it’s time to gather the necessary tools and materials for your bathroom vanity makeover. By having everything prepared and organized, you’ll be able to seamlessly move on to the next steps and ensure a smooth transformation process.
Once you’ve determined your preferred design style, it’s essential to gather all the tools and materials needed for a successful and seamless transformation of your bathroom vanity.
To start, choosing the right paint color is crucial in achieving the desired look for your vanity. Consider the overall theme and color scheme of your bathroom, as well as the mood you want to create. Whether you opt for a bold and vibrant hue or a soothing and neutral tone, make sure it complements the rest of the space.
Next, finding affordable materials is key to staying within your budget while still achieving a high-quality makeover. Look for sales, discounts, or even repurpose items you already have to save money. Keep in mind that you’ll need materials such as sandpaper, primer, paint brushes, rollers, painter’s tape, and a drop cloth. Additionally, consider any specific tools needed for removing and replacing hardware, such as screwdrivers or wrenches.
Once you have gathered all the necessary tools and materials, you can move on to the next step of your bathroom vanity makeover: prep and paint. By following these steps, you’ll be well on your way to transforming your outdated vanity into a stylish and functional centerpiece for your bathroom space.
Now it’s time to get your tools ready and give your vanity a fresh new look with some prep work and a coat of paint.
Before you begin, make sure you have all the necessary materials, including sandpaper, primer, paintbrushes, and your chosen paint color.
Start by removing any hardware from the vanity, such as knobs or handles. This will make it easier to paint and ensure a smooth finish.
Next, thoroughly clean the surface of the vanity to remove any dirt or grease. Once it’s clean, lightly sand the entire surface to create a rough texture that will help the paint adhere better.
Now, it’s time to prime the vanity. Apply a coat of primer using a paintbrush, making sure to cover all surfaces evenly. Allow the primer to dry completely before moving on to the next step.
Finally, it’s time to paint! Choose a color that complements your bathroom decor and apply it in smooth, even strokes. You may need to apply multiple coats for full coverage, so be patient and allow each coat to dry before applying the next.
Once the paint is dry, you can add finishing touches to complete your DIY bathroom vanity makeover.
Transitioning into the next section, let’s discuss how to add those final details that will truly transform your vanity.
To complete your DIY bathroom vanity makeover, it’s time to add those finishing touches that will really make your vanity stand out.
Start by installing new hardware, such as drawer pulls or knobs, to give your vanity a fresh and updated look.
Next, consider adding decorative elements like wallpaper or a backsplash to add some personality and style to your space.
Finally, reinstall the vanity in your bathroom and take a moment to enjoy your newly refreshed and rejuvenated space.
Transform your bathroom vanity with a simple touch by installing new hardware, like stylish drawer pulls or knobs. Choosing the right hardware can drastically update the look of your vanity and give it a fresh, modern feel.
There are various types of drawer pulls or knobs to choose from, such as sleek stainless steel handles or elegant crystal knobs. Consider the overall style of your bathroom and select hardware that complements it. To find stylish hardware, you can visit home improvement stores or search online for a wider selection.
If you want to explore alternative ways to update the look of your vanity, you can also consider painting or staining the existing hardware to give it a new finish.
Now that you have transformed your vanity with new hardware, let’s move on to the next step: consider adding decorative elements, such as wallpaper or a backsplash, to complete the makeover.
Consider enhancing the aesthetic appeal of your bathroom by adding decorative elements like wallpaper or a backsplash. These elements can act as the vibrant cherry on top of your vanity makeover, bringing it to life like a burst of colorful confetti.
When it comes to wallpaper ideas, the options are endless. Choose a bold and eye-catching pattern to make a statement or opt for a subtle and elegant design to create a more serene atmosphere. Wallpaper can instantly transform the look of your vanity, adding depth and personality to the space.
Another option to consider is a backsplash. Whether you go for classic subway tiles or a mosaic design, a backsplash can protect your walls from water damage while adding a touch of sophistication.
Once you’ve added these decorative elements, it’s time to reinstall the vanity in your bathroom and enjoy your refreshed space.
Now that you’ve completed your vanity makeover, it’s time to reinstall it in your bathroom and bask in the beauty of your refreshed space.
Before you begin, take a moment to reorganize the space around the vanity. Clear any clutter and ensure that you have enough room to move around comfortably.
Now, let’s focus on the lighting options. Consider installing new light fixtures above or on the sides of the mirror to enhance visibility and create a warm ambiance. You can choose from a variety of styles, such as sconces or pendant lights, to suit your personal taste.
Make sure to follow the manufacturer’s instructions for installation and consult an electrician if necessary.
With the vanity back in place and the right lighting, your bathroom will become a haven of style and functionality.
Enjoy your newly refreshed space!

Hun Chen
Hun is a foremost expert designer and manufacturer of bathroom and kitchen cabinetry. With decades of experience knows how to manufacture bathroom vanities to the highest quality. Hun also has been a trend setter with his modern designs of his bathroom and kitchen cabinetry and fixtures.

Are you tired of the same old cookie-cutter bathroom vanities that lack style and personality? It’s time to break free from the mundane and embrace
So, you’ve decided it’s time to give your bathroom a makeover. A fresh coat of paint, some new tiles, and of course, a chic and
Are you tired of the same old boring bathroom designs? Yearning for a touch of vintage charm to bring some character into your space? Look
Did you know that the right lighting can completely transform your bathroom vanity? It’s true! In fact, studies have shown that 85% of people feel